Phone:
+85295718875
Email:
support@just-wonders.com

Phone:
+85295718875
Email:
support@just-wonders.com
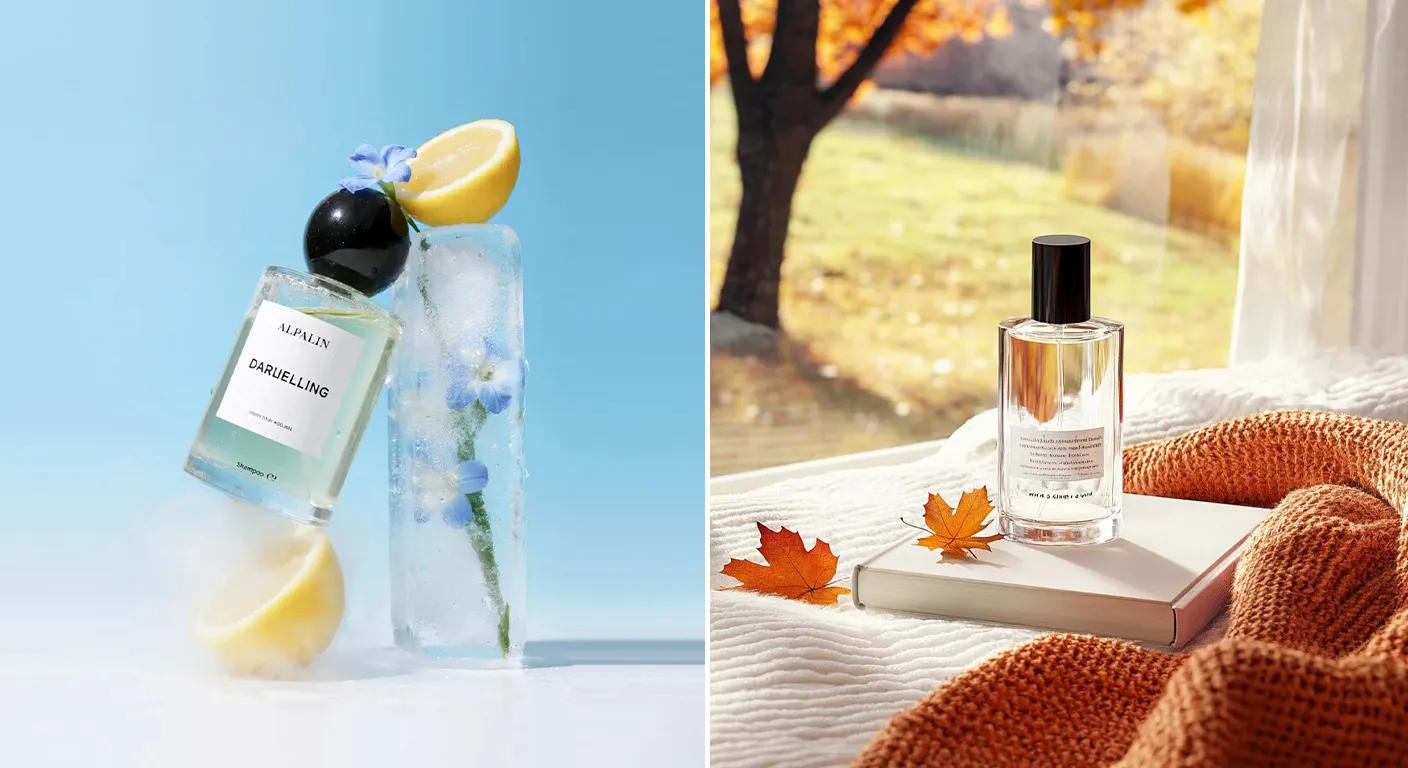
Seasonal products present a unique opportunity for dropshipping stores. Demand surges during specific windows—summer, back-to-school, winter holidays, or spring refresh. Yet many sellers struggle to convert that demand into sales. The difference often comes down to product photography styles.
Customers shopping for seasonal products are not just buying an item. They are buying a feeling, a moment, or a solution to a timely need. Generic supplier photos rarely capture that emotional connection. This article covers three photography approaches designed for seasonal products, along with actionable methods to execute them without expensive studio setups.
Shopping behavior shifts with the seasons. In summer, customers respond to brightness, ease, and outdoor settings . In winter, warmth and coziness drive purchase decisions . A product photo that works in June may feel completely out of place in December.
When every store selling a seasonal product uses the same supplier image, shoppers have no visual reason to choose one store over another . Unique photography gives your store an identity. It signals that you have put thought into your presentation. It makes the product feel more trustworthy .
The right product photography styles also reduce hesitation. Customers can see how the item fits into their life during that specific season. They can imagine using it. That imagination is what moves them from browsing to buying.
Scene-setting photography places the seasonal product in an environment that feels natural for that time of year. This style answers the question: “Where would I use this?”
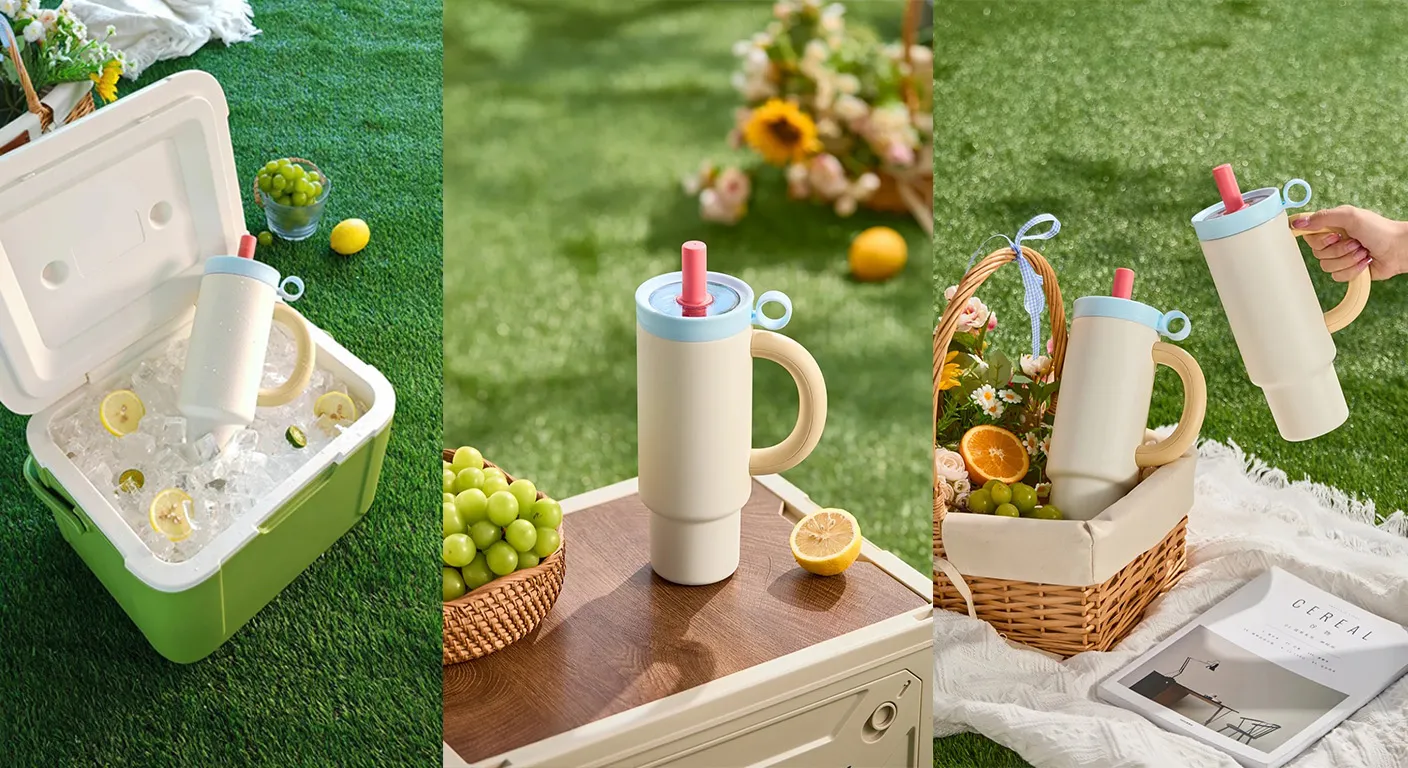
For summer seasonal products, think patios, picnic blankets, or bright kitchen counters with iced drinks nearby . For winter items, consider cozy living rooms with soft lighting, warm fabrics, or evergreen accents .
The goal is not to create a cluttered image. The goal is to provide enough context that the customer can picture the product in their own seasonal routine. A few well-chosen props do more than a busy, distracting background .
Start with a clean product cutout. Remove the original supplier background using an AI tool. This gives you flexibility to place the product into any scene .
Choose a scene that matches the season and your brand. For a minimalistic store, keep backgrounds simple—a marble surface with soft light works for summer. For a cozy brand, warm wood and textured fabrics might fit winter better .
Add subtle seasonal cues. A sunhat in the background suggests summer. A sprig of evergreen suggests winter. These small touches signal the season without overwhelming the product .
Do not use props that distract from the product. If a customer looks at the photo and notices the background before the item, the scene is too busy. The product must remain the focal point .
Lighting shapes how a customer feels when looking at a seasonal product. Different product photography styles use light differently. Summer products benefit from bright, warm light. Winter products often need softer, more diffused light to create a cozy mood .
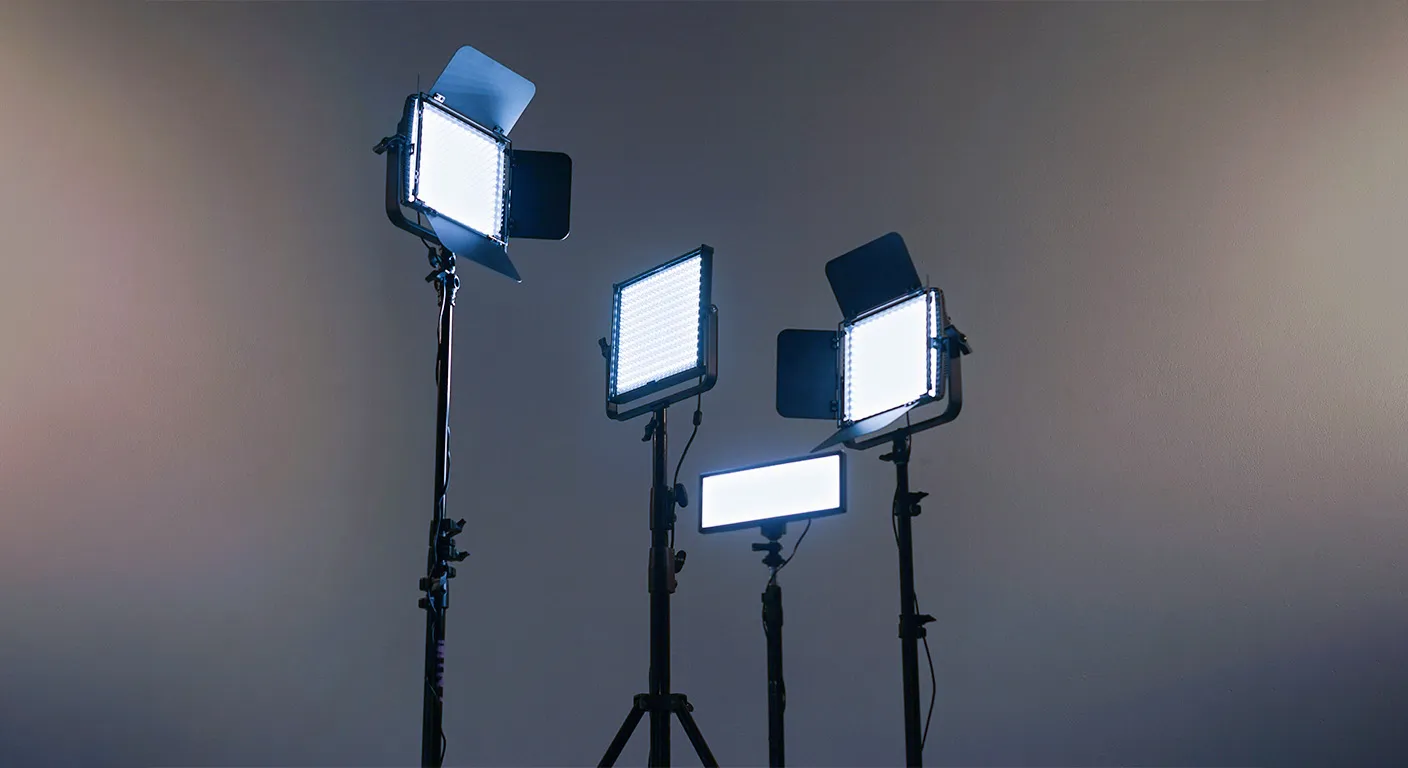
Seasonal shopping is emotional. Summer shoppers respond to energy and brightness. Winter shoppers look for warmth and comfort. The lighting in your photos communicates these moods instantly .
Lighting also affects how colors appear. Winter natural light tends to be cooler, which can make warm-colored products look dull. Editing to restore warmth is often necessary .
Use artificial light that mimics daylight. LED panels or daylight bulbs with a high color rendering index help products look natural and true to color .
Position lights at 45-degree angles. Two softbox lights placed this way reduce harsh shadows and create balanced illumination .
Diffuse the light. Harsh lighting causes reflections and makes products look flat. Soft diffusers spread the light evenly and create a more appealing look .
Adjust white balance during editing. Winter photos often look too cool. Warming the color balance slightly brings back the natural tones of the product .
| Season | Lighting Approach |
|---|---|
| Summer | Bright, warm light; natural outdoor glow; soft reflections |
| Autumn | Golden tones; slightly moody shadows; warm white balance |
| Winter | Soft, diffused light; cozy warmth; careful color correction |
| Spring | Light, fresh brightness; clean whites and pastels |
Seasonal shoppers often buy gifts or items for specific occasions. They want to know exactly what they are getting. Detail-focused photography builds trust by showing the product clearly from multiple angles and in real use .
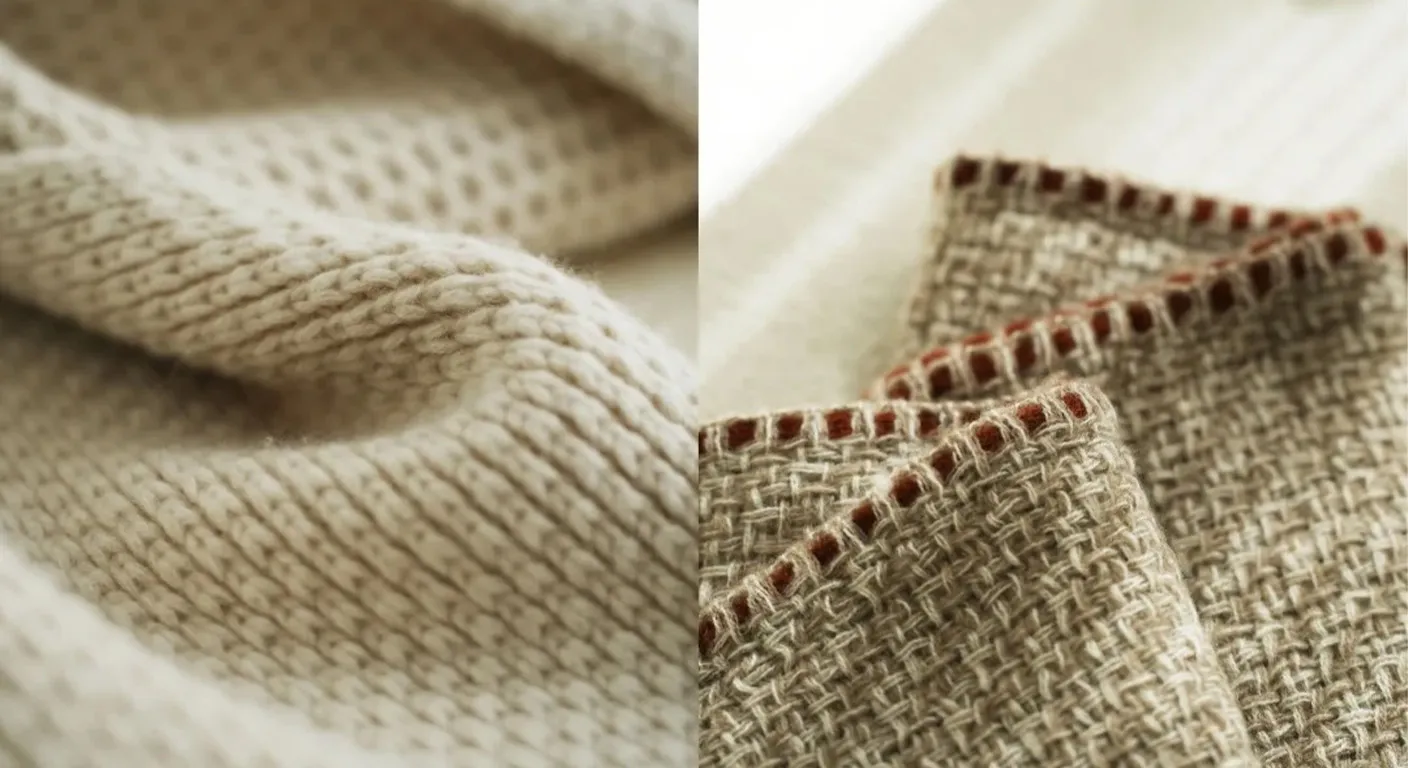
This style goes beyond the standard front-facing supplier image. It includes:
For seasonal products, detail shots are especially valuable because customers may be buying for a specific event. They need to confirm size, color, and quality before purchasing.
Order samples of your bestsellers. Having the physical product allows you to photograph every angle. This is the most reliable way to get unique, accurate images .
Show scale clearly. If a seasonal product looks larger online than it is in reality, customers feel disappointed. Show it next to a hand, phone, or familiar object .
Photograph the product in use. Instead of only showing a drawer organizer on a white background, show it separating utensils. Instead of a cable clip alone, show it cleaning up a messy desk .
Capture multiple color variants. If the product comes in different colors, show each one clearly. Customers need to see the actual shade before ordering .
If ordering samples for every product is not feasible, AI tools can help. Background removal and scene generation can transform supplier images into unique visuals . However, AI-generated images must not change the product’s size, color, or features. Accuracy builds trust; misleading images lead to returns .
Many dropshippers wonder which type of image to prioritize. The answer is both, but with a clear strategy.
They are required by major platforms like Amazon. They help customers see the product clearly without distractions. They build trust by showing exactly what the buyer will receive.
They appear in your listing gallery, on social media, and in ads. They answer the emotional question: “How will this product fit into my life this season?”
Use one white-background image as your main photo. Then use 3-5 scene-setting images to show the product in seasonal contexts. This combination builds trust and desire. Customers know exactly what they are getting, while also imagining themselves using it.
Pro tip: When shooting seasonal products, capture both styles in one session. Set up your product on a white surface first. Take your clean white-background shots. Then add a few seasonal props to the same setup. This saves time and ensures consistent lighting across all your images.
Creating effective product photography styles for seasonal products does not have to be complicated or expensive. Here is a practical workflow:

Know when each season’s shopping window begins. For winter holidays, prepare photography months in advance so your listings have time to rank .
Choose the highest-resolution versions with the clearest product visibility .
Use an AI background remover to create a clean cutout. This gives you a fresh starting point .
Use an AI generator or manual editing to place the product into a seasonal lifestyle scene that matches your brand .
Correct white balance, add warmth or coolness as needed, and ensure colors are accurate .
If you have samples, photograph multiple angles and use-case images. If not, use AI to create size references and close-ups .
Use the same scene templates and editing style across all products. This builds a cohesive brand look .
Creating unique, seasonal-focused product photography styles takes time and skill. Uploadtosell offers services designed to help dropshipping sellers overcome these challenges. From high-converting product photography that adapts to seasonal campaigns to design tools that make customization simple, the platform provides a complete solution [citation:website].
Whether you need studio-quality images for a new product line or assistance with visual branding across seasons, Uploadtosell handles the work so you can focus on growth. Visit Uploadtosell.com to explore how professional visuals can transform your seasonal products into consistent best-sellers.
Plan to shoot at least one full marketing cycle ahead. For holiday products, start photography in August. This gives you time for editing, revisions, and uploading. It also avoids last-minute rush fees and photographer availability issues.
Check your platform’s requirements first. Major platforms like Amazon require pure white backgrounds for main images. Use white-background photos as your primary listing image. Use scene-setting images as secondary gallery photos, in ads, and on social media.
For top-selling products, prepare 2-4 different visual variations per season. This gives you enough options to test across different channels—your website, ads, email campaigns, and social media. It is manageable without creating excessive workload.
Start with one product from each key category. Order samples for your best-sellers. Photograph them in-house with basic equipment like daylight bulbs and a white backdrop. Use AI tools to create additional seasonal scenes. This approach keeps costs low while delivering professional results.
Use a color-calibrated monitor when editing. Export images in sRGB color space, which is the standard for web viewing. Check your images on multiple devices—a phone, a tablet, and a laptop—to ensure colors look consistent. Seasonal colors like warm reds or cool blues can shift significantly between screens.