Phone:
+85295718875
Email:
support@just-wonders.com

Phone:
+85295718875
Email:
support@just-wonders.com
Separate garment measurements from body size, flat chest width from circumference, and fit ease from production tolerance before approving your apparel size chart.
Garment measurements tell you the size of the clothing. Body measurements tell you the size of the person. They are connected, but copying one into a table meant for the other can make a perfectly consistent shipment look wrongly sized to every customer who reads it.
If a supplier writes “chest: 52 cm,” ask what was measured before changing your listing. It might mean the width of a shirt laid flat, not the circumference of the wearer’s chest. A number without its method is not a usable size specification, even when the spreadsheet looks professional.
For an apparel seller, the immediate job is to separate three things: the physical product, the person it is intended to fit, and the allowable variation in production. Once those are clear, you can turn a supplier’s table into information a shopper can actually use.
Imagine a supplier sends a sample shirt with a listed chest measurement of 52 cm. You lay it flat, without stretching it, and measure 52 cm across the agreed chest line. That is a width. On a simple garment with comparable front and back panels at that line, doubling it gives an approximate 104 cm garment circumference.
It does not mean that the shirt is intended for a person with a 52 cm chest. It also does not automatically establish a recommended body chest of 104 cm. The intended amount of room, fabric behavior and cut still matter. Shaped panels, pleats or other construction details may make a simple doubled-width interpretation unsuitable.
Write the field as “chest width, laid flat” if that is what the supplier measures. If the field is a circumference, say so. A shopper should not have to guess whether to double a figure, and a warehouse checker should not have to infer the supplier’s method from the number.
Keep garment measurements separate from any recommended body-size range in your apparel size chart. Use different headings or tabs, and explain which table the shopper is looking at. Mixing the two in adjacent rows is especially confusing: a product chest width alongside a wearer’s waist circumference looks like one consistent system when it is not.
“Measure the length” sounds precise until one person starts at the collar seam and another includes the collar itself. A curved hem creates another choice: measure to the front center, the longest point or a stated side point? These differences can produce conflicting reports without any change in the garment.
Use a marked reference image or drawing for each important dimension. Reproducible garment measurements need an identified start and finish, whether the line is straight or follows a seam, and how the item should lie. Buttoned or unbuttoned, relaxed or stretched, and front or back are measurement conditions, not small details to leave to habit.
For an example of explicit endpoints, open the size guide on Printful’s Bella + Canvas 3001 product page. Its product guide describes length from the highest shoulder point beside the collar to the bottom, and width from the seam under one sleeve to the seam under the other. Those instructions belong to that product; use them as an example of clarity, not a universal pattern for every shirt.
The same discipline applies to a chest width measurement on your own sample. Place the garment on a suitable flat surface, arrange it as specified and avoid pulling it wider to match the target. If a tape runs diagonally, bridges a fold or begins at a different seam, the result is not directly comparable.
Ask two people to measure the same sample independently using only your instructions. If they produce materially different results, compare their endpoints and handling before declaring the sample defective. Better instructions may solve the disagreement more directly than requesting another production sample.
Fit ease is the difference between a garment’s dimensions and the corresponding body dimensions, interpreted for the design. Positive ease adds room; some stretch designs use negative ease. Neither is a universal number you can infer from an S, M or L label.
Take a simplified example with an approximate garment chest circumference of 104 cm and a wearer’s chest circumference of 96 cm. The numerical difference is 8 cm. That arithmetic describes positive ease at that measurement line. It does not prove the shirt will feel comfortable through the shoulders, upper arms or waist, or that every 96 cm-chest customer should choose that size.
Manufacturing tolerance is different: it specifies the acceptable variation around the agreed product dimension. If a hypothetical flat chest width target is 52 cm with a tolerance of plus or minus 1 cm, the accepted flat range is 51–53 cm. This is an illustration, not a recommended industry-wide allowance. Agree tolerances for the product and the practical measurement method.
In that simplified example, doubling the flat range yields approximately 102–106 cm around the garment. That helps explain why a seemingly small width variation can matter to fit. Do not double an allowance twice, or add production tolerance to a recommended body range as if both describe the same thing.
Evaluate garment measurements and fit on their own terms. A sample can meet the dimensions and still have an uncomfortable armhole. It can feel good on one person while differing from the approved specification. Fitting feedback and measurement results are complementary evidence, not substitutes for each other.

A supplier may work in centimeters while your customers prefer inches. Keep garment measurements in one agreed source table, then convert from it consistently. One inch is 2.54 cm. A 52 cm width therefore converts to about 20.47 inches; the choice to show 20.5 inches is a display-rounding decision, not a new production target.
Avoid copying rounded inches back into centimeters and treating the changed value as the latest specification. Repeat that process across versions and the table can drift even though no one intended to change the shirt. Keep adequate precision in the source record and use a stated, consistent display convention for customers.
Put units in every relevant table heading. A chest width measurement of “20.5” without a unit invites an unnecessary interpretation error. If you publish two unit systems, compare every row after conversion, including the smallest and largest sizes rather than checking only the middle one.
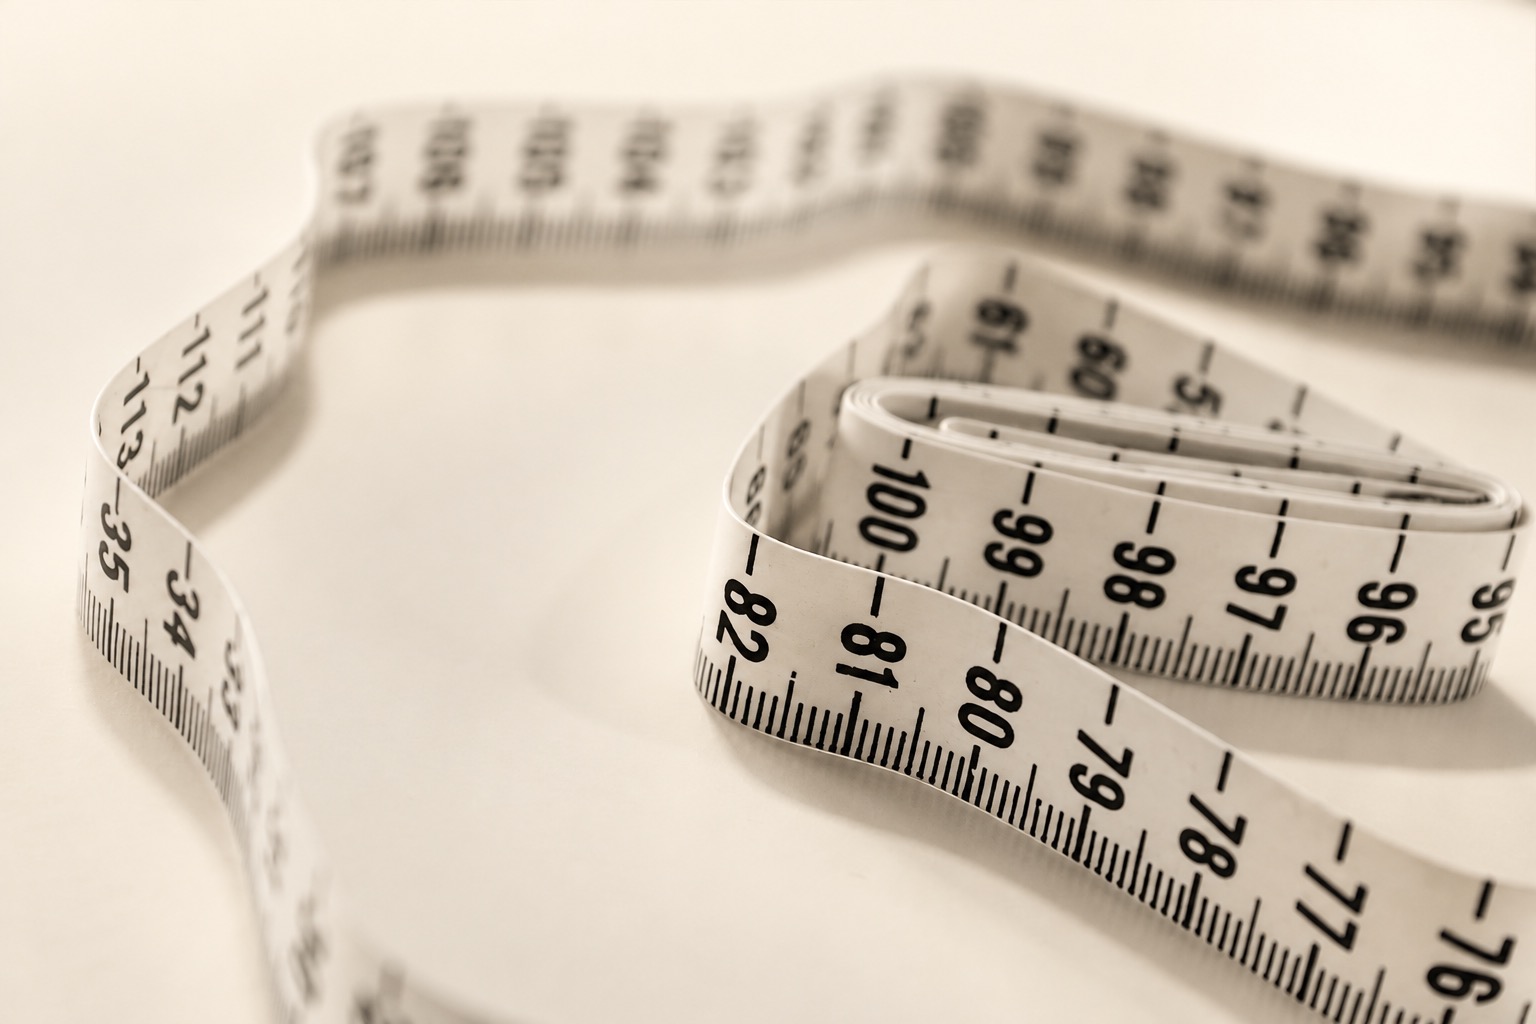
A flexible measuring tape also needs a readable scale and an intact starting point. Check which side and unit the checker is using. A worn end or a switch between scales can make repeated garment measurements disagree. Replace a damaged tool instead of adding an unexplained correction to the spreadsheet.
One approved medium sample is useful evidence about that sample, not proof of an entire size range. Ask how the dimensions change between sizes and which sizes have been physically checked. Do not fill missing rows by adding the same number to every dimension: a body width, sleeve length and neck opening need not change by identical amounts.
Keep the sample’s identity attached to its results: style, size, color, material version and condition. If a fabric blend or construction changes across variants, ask whether the existing table still applies. Similar-looking garments from two suppliers should not share a chart merely because their labels both say “medium.”
Also distinguish as-received garment measurements from measurements taken after washing. If shrinkage matters to the intended use, agree the care procedure and comparison method with the supplier or a suitable testing provider. Record before and after results separately. Do not replace the original number silently or invent a shrinkage allowance from one informal wash.
The published care instructions and any dimensional claims need compatible evidence. A product marketed for machine washing should not rely on fit information obtained only under an unrelated, gentler procedure. Our discussion of checking care labels before an apparel order covers the separate question of supporting washing instructions; the size table still needs its own measurement basis.
An apparel size chart becomes more useful when its instructions match the numbers. If the table lists flat product dimensions, explain how to compare a similar garment the shopper already likes. If it lists body measurements, explain where on the body to measure. Do not tell someone to measure their body and then compare it directly with an unexplained flat width.
Describe fit in ordinary, specific language, supported by the actual sample. “Relaxed through the body” communicates a different intention from “close fitting.” Avoid turning a model photograph into a sizing guarantee; the wearer’s height alone cannot describe chest, shoulder or arm fit. Any model measurements you publish should be real and connected to the size shown.
For sourcing and receiving, keep a separate technical version with endpoints, condition and tolerances. UploadToSell’s sourcing and fulfillment workflow allows product-specific requirements in the approved inspection checklist. Send the marked sample reference and agreed table when discussing your plan, and confirm which checks will be performed rather than assuming every possible dimension is included.
Before the chart goes live, read it once as a customer and once as the person checking the goods. Can each tell what to measure, where, and in which units? If the answer is yes, garment measurements can connect the item you approved with the choice a shopper makes. If not, fix the missing definition before selling the size label.