Phone:
+85295718875
Email:
support@just-wonders.com

Phone:
+85295718875
Email:
support@just-wonders.com
Check garment shrinkage using paired measurements, defined care conditions and direction-specific calculations before approving your apparel size chart.
Your supplier says a shirt shrinks by 3%. Before changing the size chart, ask: which dimension, compared with which starting measurement, after what treatment? Garment shrinkage is useful purchasing evidence only when the before-and-after readings describe the same identified item under a defined procedure. A percentage without those details is not enough to approve a sizing claim.
For a store buying apparel from China, the practical decision is whether the finished product, proposed care instructions and customer-facing dimensions agree. You can review the evidence without pretending to run a textile laboratory. Start with a paired measurement record, then decide whether the result supports the offer or leaves a question for the supplier or testing provider.
A shirt can change differently in length and width. Do not turn a result for body length into a percentage for the entire garment. Sleeve length, neck opening and other important dimensions may need their own observations, depending on the construction and intended fit.
CottonWorks’ explanation of shrinkage and skewing defines dimensional change as either positive or negative: an increase is growth, while a decrease is shrinkage. Its discussion also connects garment performance with seam puckering, skew, relationships between body fabric and trims, and changes in fit. A single percentage does not describe all those outcomes.
Keep the actual measurements alongside the calculated result. “Body length: 70.0 cm before, 67.9 cm after the specified procedure” tells you more than “3% shrinkage.” It identifies what became shorter and preserves the figures someone else needs to check the calculation. The numbers in this article are hypothetical examples, not results from a supplier or a UTS test.
Give each sample a stable identifier and record its style, size, color and material version. Take the initial readings on that physical item, then keep it identifiable through treatment and remeasurement. Comparing one unwashed medium shirt with a different washed medium shirt mixes dimensional change with any variation that existed between the two items.
For example, one shirt might begin at 70 cm long and another at 69 cm. If the second remains 69 cm after treatment, comparing it with the first suggests a 1 cm loss that did not happen to either item. Paired records prevent that mistake. Several samples can improve the picture, but each still needs its own before-and-after pair.
Agree the measurement points before starting. Specify the endpoints, line direction, garment position and whether it is relaxed or stretched. Use the same method afterward, including how folds are arranged and closures are fastened. A tape moved from the shoulder seam to the top of the collar can create an apparent change without any fabric movement.
Our guide to garment measurements versus body measurements explains why flat width, circumference and wearer size must remain separate. Establish that measurement basis first; the comparison here adds a second state of the same garment, not a new definition of chest size.
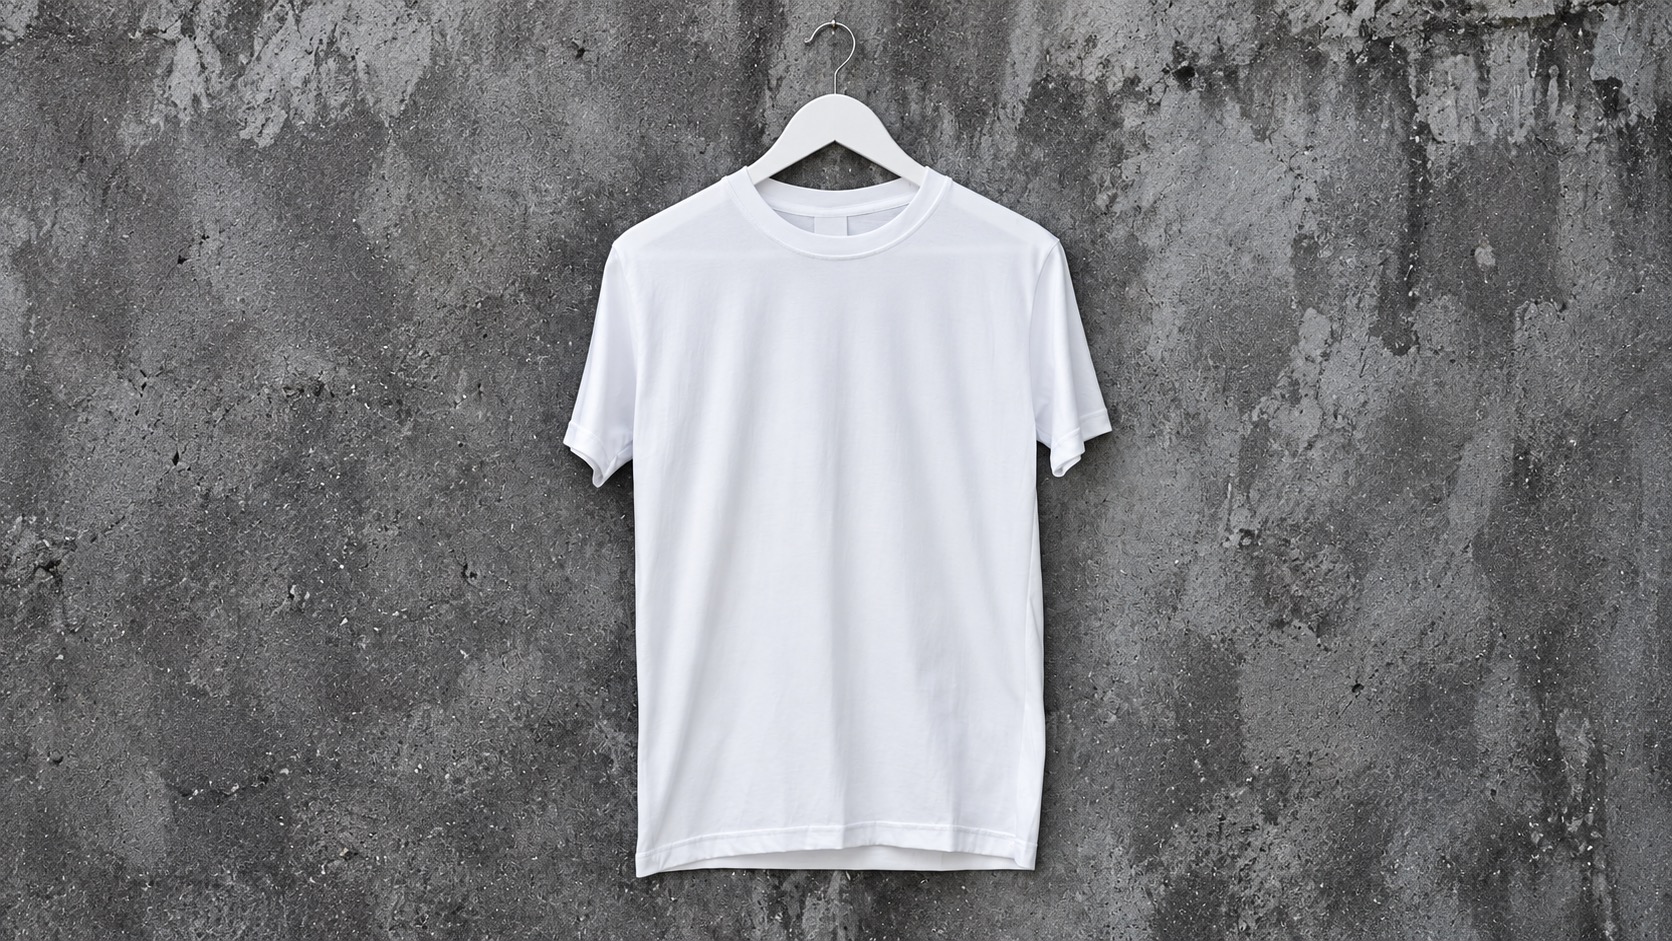
On a plain shirt, the collar, sleeve edges and bottom hem are visibly different boundaries. A hanging product photograph helps identify the parts you need to discuss, but it is not a measurement setup. Prepare the item as your agreed method requires rather than measuring a hanging silhouette or estimating a dimension from the photo.
A wash test needs a stated procedure before its outcome can guide a claim. Ask which washing and drying method, temperature settings, detergent, loading conditions and number of cycles were used. Record any relevant finishing or pressing afterward. Two reports cannot be compared simply because both say “washed.”
The procedure should address the proposed care instructions and intended use. If you plan to describe the item as suitable for a particular machine-washing and drying routine, an observation after an unrelated gentle treatment does not establish that claim. For formal or contractual testing, ask a competent provider to identify the applicable method, current version and reporting requirements; do not invent your own equivalent.
Sample preparation and the condition at measurement matter too. Ask how the items were dried and prepared before each reading, and follow the selected method’s conditioning requirements. Comparing a damp, stretched item with a dry, relaxed one leaves more than laundering different. Do not prescribe a universal waiting period without knowing the procedure.
A photograph of a front-loading machine cannot establish its program, load, temperature or what happened after the door opened. Keep those details in the treatment record. Likewise, one completed cycle does not prove that later cycles produce no further change. State the observed cycle count instead of replacing it with a general promise about lifetime fit.

For this worked record, use signed change: subtract the initial dimension from the final dimension, divide by the initial dimension, then multiply by 100. A negative result means the dimension became smaller; a positive result means it became larger. Check a laboratory report’s own convention before interpreting its signs.
| Dimension | Before | After | Signed change |
|---|---|---|---|
| Body length | 70.0 cm | 67.9 cm | −3.0% |
| Flat chest width | 52.0 cm | 51.48 cm | −1.0% |
| Sleeve length | 24.0 cm | 24.24 cm | +1.0% |
The length calculation is (67.9 − 70.0) ÷ 70.0 × 100 = −3%. It can also be described as 3% shrinkage in that dimension, with the direction written in words. Dividing the 2.1 cm loss by the final 67.9 cm instead gives about 3.09%; that uses a different denominator.
The width lost 0.52 cm, while the sleeve gained 0.24 cm. Do not average the three percentages into one “garment result.” That would hide which part changed, and it would not describe area, volume or fit. Retain each dimension and each sample separately, with any required summary clearly identified.
The extra decimal places make this hypothetical arithmetic exact; they are not a recommendation to report measurements more precisely than your equipment and method support. Keep the original readings and rounding convention. If a small reported change is close to the variation between repeated measurements, resolve that uncertainty before treating it as a meaningful product difference.
Recheck the complete item, not only the tape readings. Note a twisted side seam, puckered join, distorted neckline or change in how a trim lies against the body fabric. Use consistent views to show a specific observation. A shirt can remain close to its recorded length yet look or feel different.
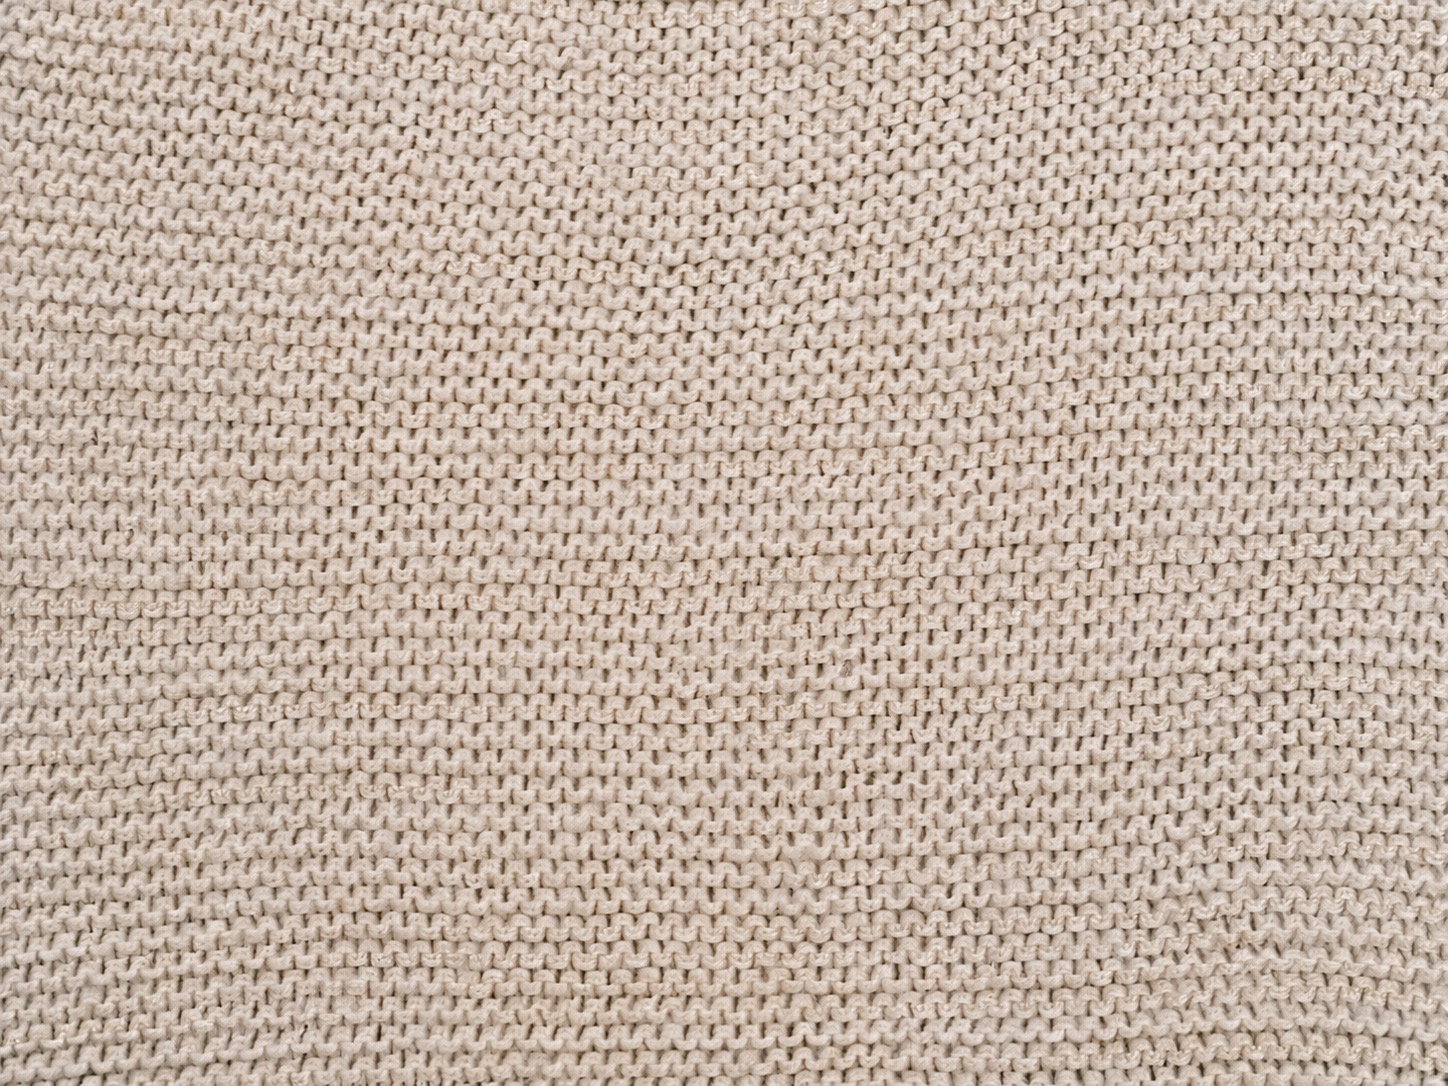
The loop structure in a knitted-fabric close-up is a reminder that fabric construction matters. CottonWorks discusses construction and processing as contributors to shrinkage, rather than treating fiber content alone as a prediction. A photograph can show structure; it cannot establish the composition, finishing history or future shrinkage percentage of the material you are buying.
Ask which part of the product the evidence covers. A fabric specimen is not the same object as a finished garment with seams, decoration and trims. If the supplier changes the fabric, finish or assembly, ask whether the existing result still applies. Do not transfer an approval just because the replacement looks similar on a product page.
Agree acceptance criteria for the product and intended use before choosing a pass or fail. There is no universal acceptable percentage established by these examples. Check both the agreed dimensional-change limits and the finished dimensions that matter to the design. A percentage within one limit does not, by itself, prove the post-treatment fit is suitable.
If different samples behave differently, keep that spread visible and investigate the relevant sizes, variants or batches. Do not select the best result as the whole order’s evidence. Equally, one unusual reading deserves a check of sample identity and measurement method before you declare a supplier-wide failure.
Do not silently overwrite the as-received size chart with washed measurements. Decide what state your table describes, label it clearly and retain the technical record separately. Avoid telling every buyer to size up unless the actual sizing and fit evidence support that advice; a change in length does not automatically justify a larger width.
If the result conflicts with the intended claim, discuss a supported change to the product or offer, then reassess it. Adding a stricter-sounding care instruction solely to explain away an unfavorable result is not a substitute for substantiating the complete garment’s care directions.
Ask for the missing evidence directly: “For these style, size and color references, please provide each sample’s initial and final dimensions, marked measurement locations, washing and drying procedure, cycle count, measurement condition and observed shape changes. Identify the agreed acceptance criteria and which product version the results cover.”
For sourcing and receiving, distinguish document review and routine dimensional checks from laundering or laboratory work. UTS’s sourcing and fulfillment workflow allows product-specific requirements in the approved inspection checklist. Discuss the actual scope before purchasing; the service page does not promise washing every item or providing textile laboratory certification.
Use the result to make a bounded decision: approve the supported information, request better evidence, or revise the proposed product and test it again. The useful outcome is not a reassuring percentage. It is a size chart and care message that describe the garment you can actually supply.