Phone:
+85295718875
Email:
support@just-wonders.com

Phone:
+85295718875
Email:
support@just-wonders.com
Learn how reflective product photography uses angles, diffusion and dark edges to show shiny products clearly, and when missing detail needs a reshoot.
If a polished spoon shows a bright window or your camera, turning down the exposure won't remove the reflection. It will usually make the spoon and the unwanted shape darker together. Reflective product photography starts with controlling what the surface reflects toward the camera, then choosing an exposure that preserves useful detail.
That changes the brief for an online store. You don't need a shiny item to look reflection-free. You need a shopper to recognize its shape, finish, edges and important details without a lamp or a patch of ceiling getting in the way. A clean highlight can describe a curved handle; a broad white patch across an engraved name can hide what someone needs to see.
Before replacing your camera or asking a retoucher to erase everything bright, separate three decisions: which view explains the product, which reflections help that view, and which surroundings need to move.
A matte background can look perfectly tidy in the photograph while the shiny product reflects a shelf behind you. The camera sees two things at once: the object itself and parts of the environment reflected by its surface. Cropping out the shelf doesn't necessarily crop out its reflection.
Start with the item in the position you want customers to see. Fix the camera position, then look closely at the troublesome area on screen. Move a plain white card beside the product, without covering the light or touching the item. If its reflection enters that area, you've found a part of the surrounding space that affects the photograph. A dark card gives you a similar way to explore where a dark edge might appear.
This isn't a rule to put every light at a particular angle. A flat face, a rounded shoulder and the inside of a spoon reflect different parts of the room. A small turn can improve one surface while making another less readable. Choose the view that explains the product first, rather than sacrificing a handle or opening just to hide one bright spot.
In reflective product photography, an empty shooting area is useful for more than keeping the background neat. Remove nearby colored bags, bright clothing and unnecessary equipment that appear in the surface. Keep the camera and your own position steady while evaluating each change, or it becomes difficult to tell what caused the improvement.

Specular highlights are the bright reflections of a light source. On a smooth surface, their shape can be more distracting than their brightness. A small bare source may produce a sharp bright mark. A larger illuminated diffusion surface can produce a broader, more controlled reflection. Neither is automatically right: the useful shape depends on the item and the detail you want to reveal.
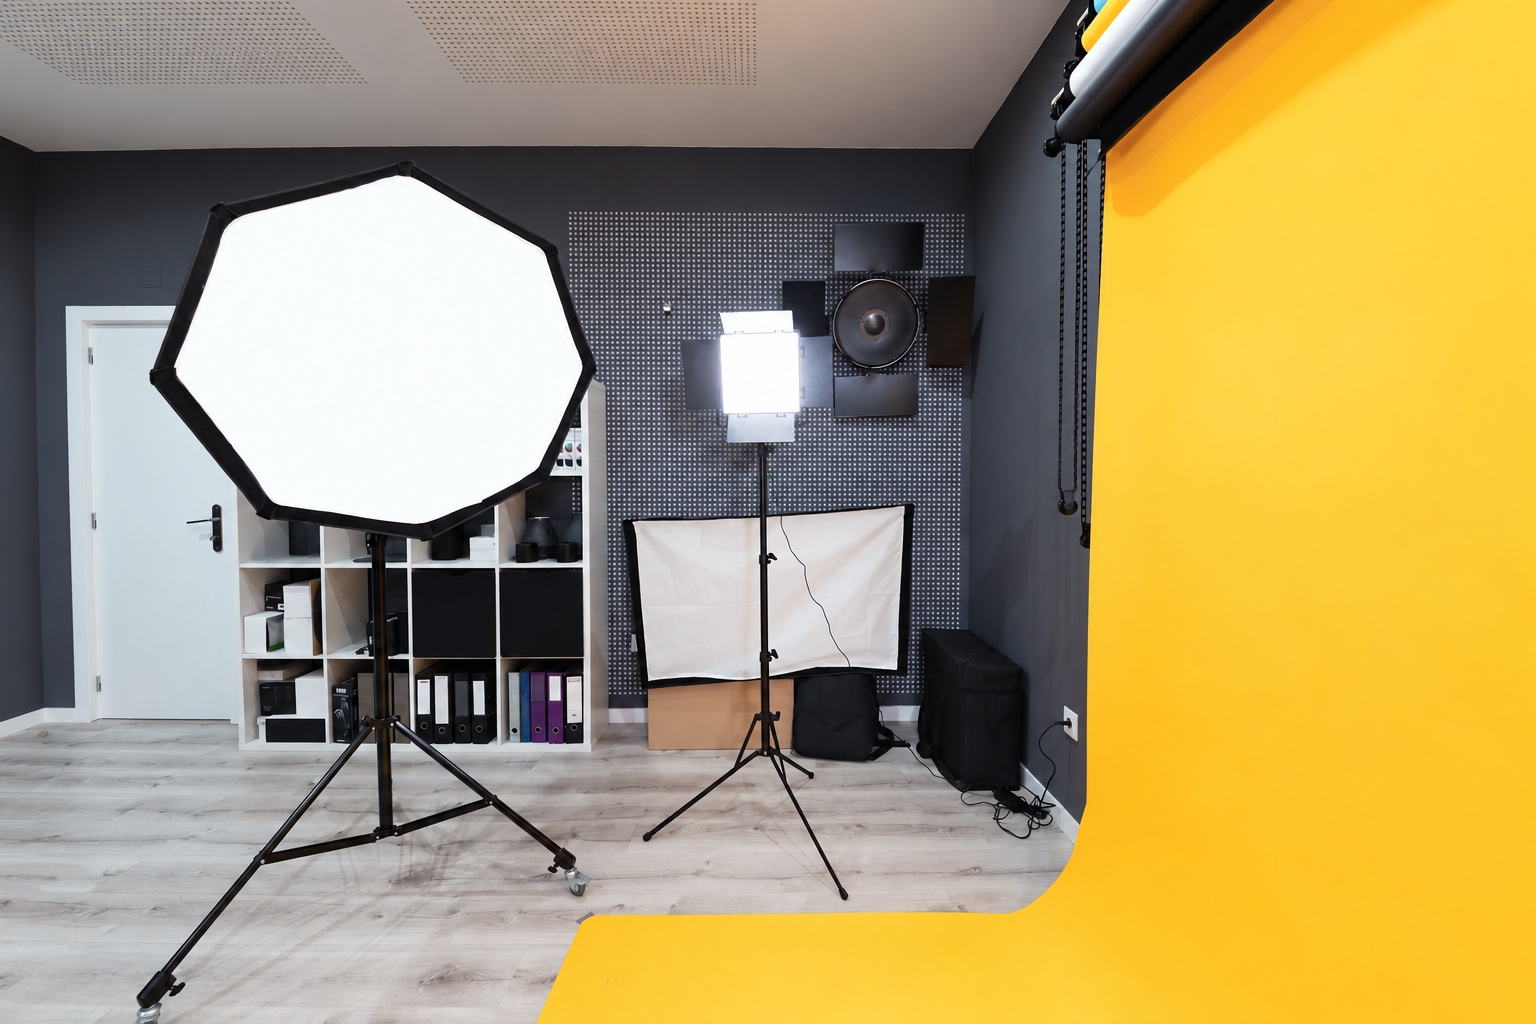
Diffusion places a light-spreading material between the source and the product. A softbox is one familiar way to do this. What matters to the item is the illuminated surface it can reflect, not simply the equipment's name. If the reflection still covers the logo, adding another layer of material isn't a substitute for changing its position or angle.
Shopify's guide to photographing reflective surfaces discusses adjusting camera and light angles, using diffusion, and placing white boards to redirect light. Treat those as variables to explore, not a promise that one arrangement suits all products.
For a small tabletop setup, begin with one controllable light source and watch what happens when you move its diffusion surface. Keep materials safely clear of hot lamps and use equipment intended for the light you're using. Don't drape improvised fabric over a fixture.
Once the reflection's shape and position work, adjust exposure. Turning the whole image darker first can leave you with a dull product and the same distracting reflection. Good reflective product photography needs both decisions, but they solve different problems.
Surrounding a silver-colored item with white surfaces can simplify its reflections, yet too much uniform brightness may make its outline hard to read. Some contrast is helpful. The gentle transition from bright to dark across a curved handle tells the eye that it has thickness and a rounded surface.
A black card outside the frame can create a darker reflection along an edge. Move it a little at a time and examine the actual result. If it makes the object look stained or cuts across a feature, its size or position needs changing. The purpose is to describe the surface, not to draw an arbitrary black stripe on it.
Lighting manufacturer broncolor demonstrates this distinction in its pocket-watch lighting example. White cards add reflections and reduce contrast; black elements can limit unwanted reflections or increase contrast. Its setup also changes the light-to-diffuser distance for smooth and textured surfaces. That is a product-specific example, not a requirement to buy the same equipment.
This is why a request to “remove all reflections” is a weak brief for reflective product photography. It doesn't distinguish a distracting view of the room from the highlights and darker boundaries that make the material recognizable. Ask instead for a visible rim, a readable mark and a believable finish. Those are outcomes you can judge against the physical sample.
A white glazed mug can carry a bright window reflection across its body while still showing the underlying white surface. On highly polished metal, reflections may dominate the appearance much more strongly. Making both items equally flat and evenly pale can misrepresent how they look in use.
Look at the product before judging the photograph. Is the finish matte, satin or mirror-like? Does it have brushing, engraving or a textured glaze? A highlight that looks untidy on one item may be useful evidence of gloss on another. Don't treat a genuine finish characteristic as a flaw simply because it interrupts a smooth background.
For glossy products, inspect transitions rather than only the brightest point. Can you follow the curve into the handle? Is the lip distinct from the interior? Does a reflection hide a join or make an opening appear closed? These questions give you a better reason to change the lighting than a general wish for a more “premium” look.
Reflective product photography also needs a limit on exposure corrections. A featureless white area in an exported image doesn't always mean the original capture lost that detail. Check the original file, especially if you shot RAW. If it still contains the detail, a revised adjustment and export may solve the problem. If the original capture has genuinely clipped it away, lowering brightness cannot recreate information that wasn't recorded; take another exposure while the setup is available. A small bright glint may be acceptable, but a missing logo, edge or texture needs attention.

Imagine reviewing a photograph of a polished bottle. The outline is clear, but a narrow white reflection runs through the printed capacity marking. Compare two possible requests. One asks the editor to paint the lettering back in. The other asks the photographer to move the bright reflected shape away from the marking and capture it again. The second preserves evidence of what the actual product looks like.
Retouching can still be useful. A dust speck on the background or a removable fingerprint isn't the same as a scratch in the product's coating. Agree which is being removed. Don't erase construction seams, change the number of openings or turn a brushed finish into a mirror surface to make the image cleaner.
For reflective product photography, use a simple dividing line: edit distractions that don't change the product; reshoot when the image fails to show a feature that buyers must assess. If you cannot tell whether a mark is dust, a reflection or a real defect, check the sample before approving the correction.
Compare the edited image with the unedited capture at a useful viewing size. Then inspect the details close up. A result can look smooth at full-screen size but lose the edge of an opening when reduced to a product card. Conversely, an unobtrusive highlight may look dramatic only at an extreme zoom that customers won't use.
You don't need to make every product match the same brightness pattern. You do need a consistent level of accuracy across the catalog.
A reflective product photography brief might say: “Show the complete handle and rim from this angle. Keep the finish visibly glossy. Move the window-shaped reflection away from the front marking, and retain enough edge contrast to separate the white body from the background.” This tells the photographer what the customer must be able to see, while leaving room to choose the setup.
Include the exact product variant and identify any surface detail that must remain visible. An attractive photo of a different coating isn't a substitute. If you are coordinating samples and fulfillment from China, keep that variant connected to the agreed product request; UploadToSell's sourcing and fulfillment workflow describes where product details and sample requirements enter the plan.
When discussing product photography with UploadToSell, send the sample details, intended image placements and a marked example of the reflection that needs attention. Confirm the scope and deliverables before the shoot rather than assuming a particular lighting arrangement or retouching allowance is included.
The test for reflective product photography is not whether every bright patch has disappeared. It is whether the photograph gives a clear, truthful view of the item someone is deciding to buy. Keep the highlights that explain it, move the reflections that conceal it, and reshoot when editing would have to invent the missing detail.